
False lashes aren’t just for glammed-up nights out or wedding day elegance—they can be your secret weapon for looking effortlessly put together, even on a Tuesday morning. The trick is choosing the right false lashes, applying them correctly, and blending them so seamlessly that no one (not even your bestie) can tell. Here’s how to master the art of natural-looking falsies for everyday wear without looking like you tried too hard.
1. Choose the Right Type of Lashes (Because Not All Falsies Are Created Equal)
If you want people to wonder if you were just born with gorgeous lashes, here’s what to look for:
• Lightweight, Wispy Lashes: Anything too thick or uniform screams, “Yes, these are fake.” Instead, go for crisscrossed patterns and tapered ends that mimic real lashes.
• Clear or Thin Bands: A thick black band can give away your secret. A clear or ultra-thin band blends more naturally with your lash line.
• Individual or Cluster Lashes: These give you the ultimate control—place them exactly where you need a little boost, and no one will be the wiser.
• Natural Length and Volume: Skip the 18mm drama lashes. Stick to something between 8-12mm for a soft, fluttery effect that looks like your lashes, but better.
2. Trim Your Lashes for a Custom Fit (Because One Size Never Fits All)
Ever put on falsies that poke the inner corners of your eyes? That’s a sure sign they’re too long for your eye shape. Before applying, measure the strip against your lash line and trim from the outer edge (never the inner!). A snug fit means no awkward lifting at the corners and all-day comfort.
3. Use a Natural-Looking Adhesive (Glue, But Make It Invisible)
Glue matters—big time. A high-quality, clear-drying adhesive ensures your falsies don’t look like they’re about to take flight.
• Apply a thin layer of glue (less is more!) and wait 30 seconds until it turns tacky—this helps the lashes grip immediately instead of sliding around.
• Bonus tip: A waterproof adhesive keeps your lashes in place through all the emotions—whether it’s a Netflix rom-com or allergy season.
4. Apply Lashes as Close to Your Lash Line as Possible (Precision is Key)
This is where patience pays off. Use tweezers or a lash applicator to place the strip directly above your natural lashes.
• Start by pressing down the center first, then secure the inner and outer corners.
• If you struggle with placement, look down into a mirror instead of straight ahead—this helps keep your eyelid in the perfect position for application.
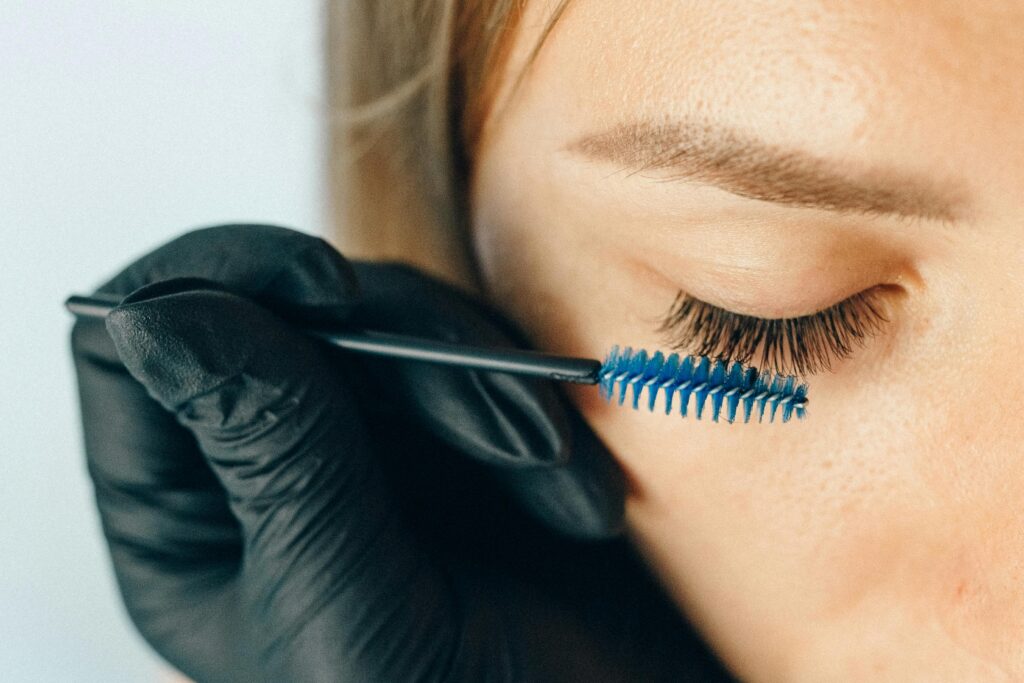
5. Blend Like a Pro (So No One Can Tell They’re Fake)
Once your falsies are on, make them blend seamlessly with your natural lashes:
• Lightly curl both your natural and false lashes together (this helps them “mesh”).
• Swipe on a light coat of mascara—just enough to fuse them together, not so much that they look clumpy.
• Apply a thin line of eyeliner along the lash band to hide any gaps and create a flawless, natural effect.
6. Maintain and Reuse Your Lashes (Because Who Has Time to Keep Buying New Ones?)
Good news: You don’t have to toss your falsies after one wear! With the right care, a single pair can last for weeks.
• Gently remove them with an oil-free makeup remover.
• Clean off excess glue with tweezers or a cotton swab so they’re ready for the next use.
• Store them in their original case to maintain their shape and keep them lint-free.

Final Thoughts: Natural Lashes, Effortless Beauty
With the right technique, false lashes can enhance your everyday look in a way that’s subtle, polished, and totally believable. A little practice, the right tools, and a steady hand will have you nailing the “I woke up like this” lash game in no time.
Related posts:
 5 Hacks to Make Your Eyelash Extensions Last Longer
 How to Achieve Salon-Quality Dip Powder Nails at Home
 Why Do Natural Ingredients Matter in Your Daily Skincare?
 No Glue Wigs: Everything You Need to Know
 How To Remove Sticker Residue from Anything — The Ultimate Guide
 7 Natural Products That May Contribute To A Healthy Lifestyle This Summer